
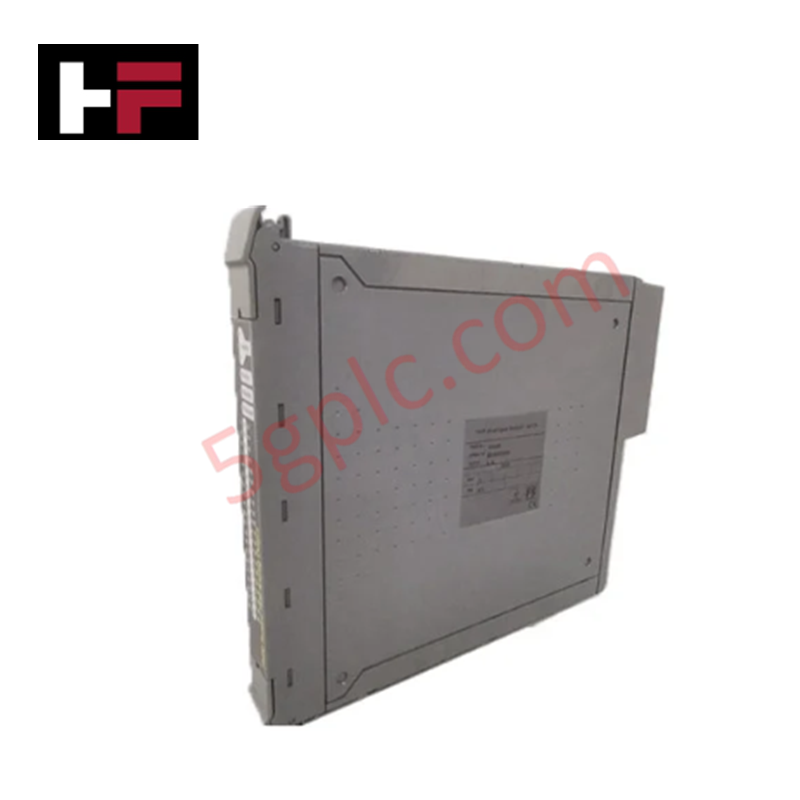
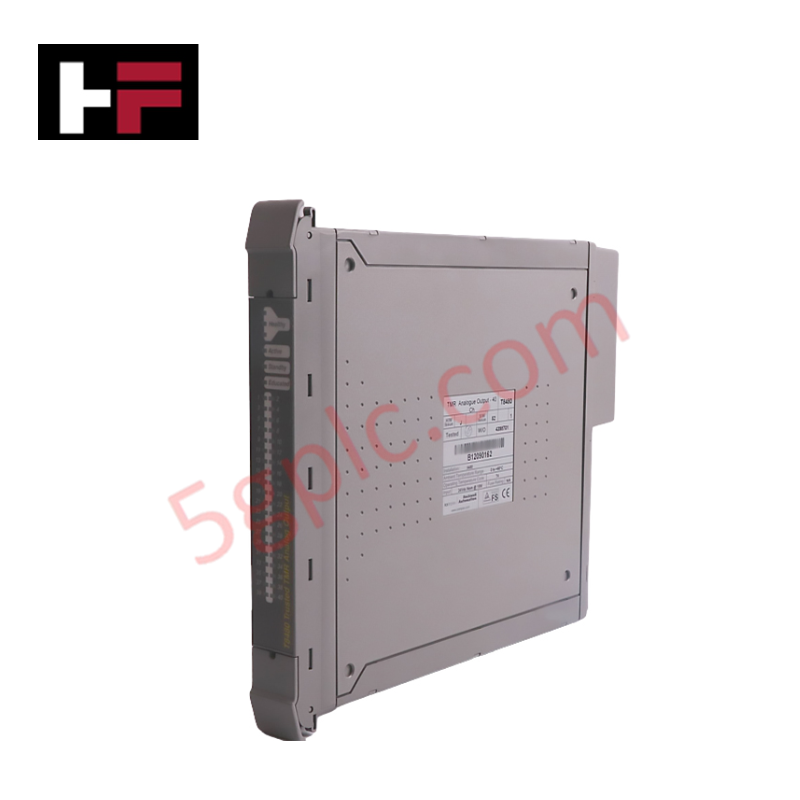


Product Details
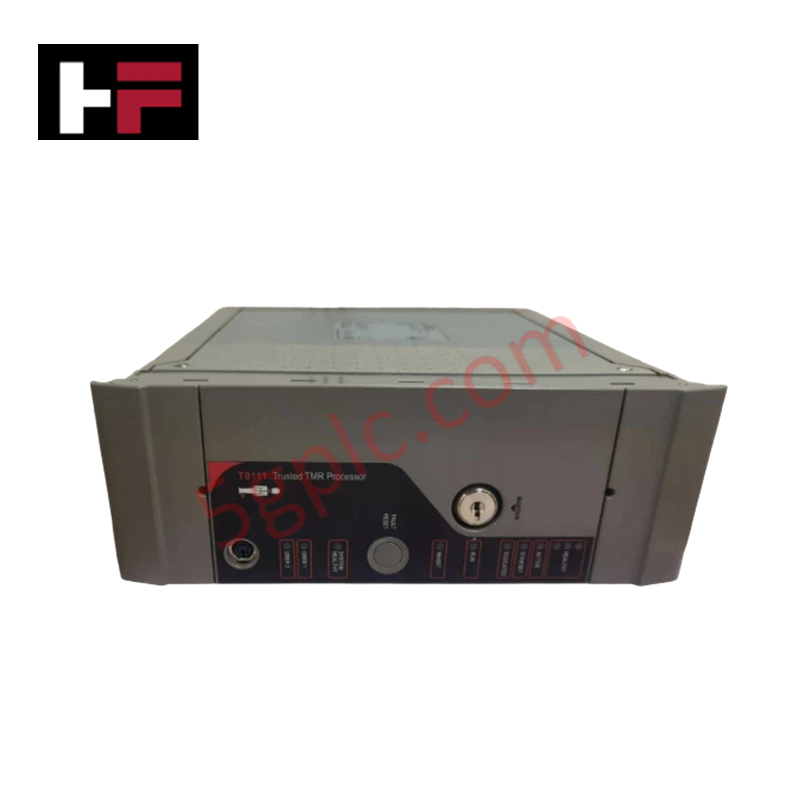
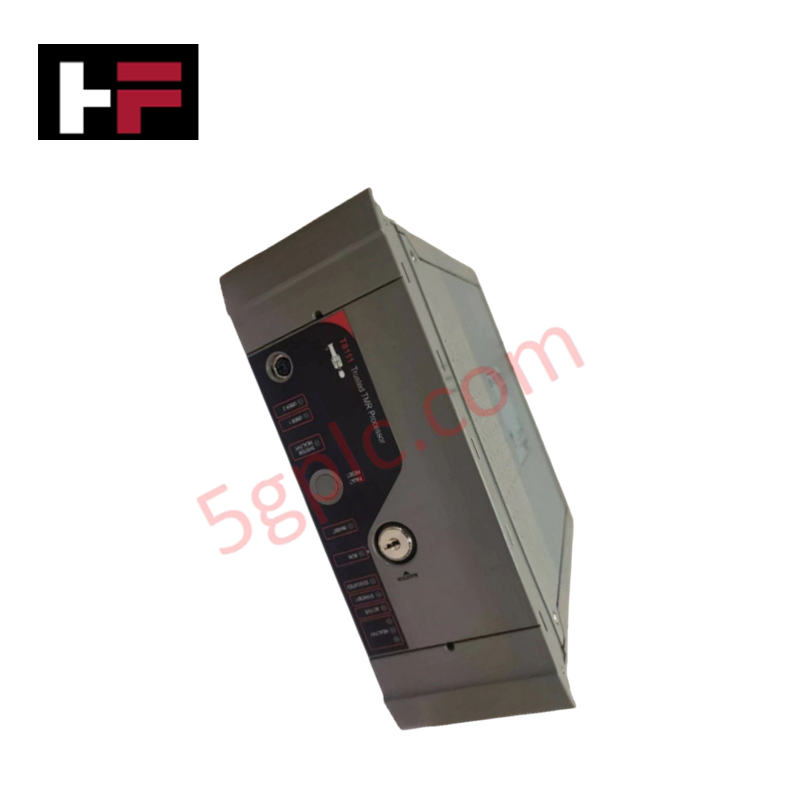
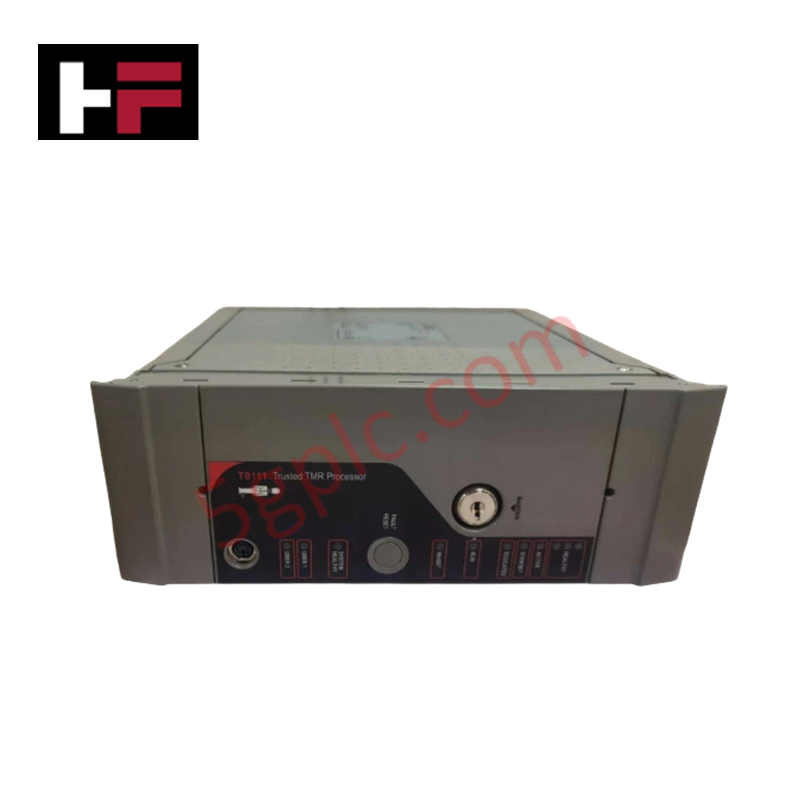
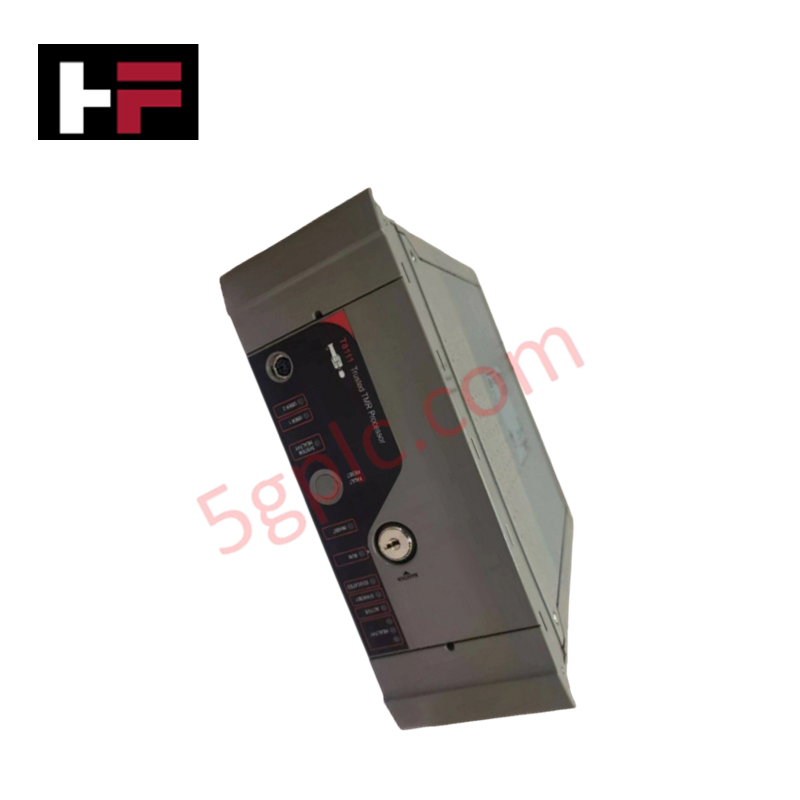
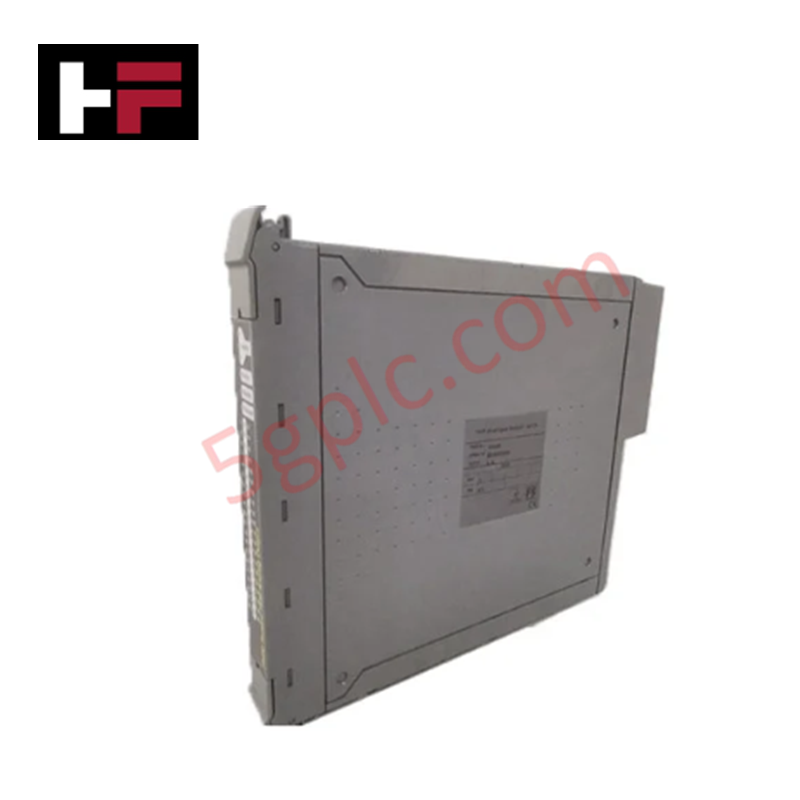
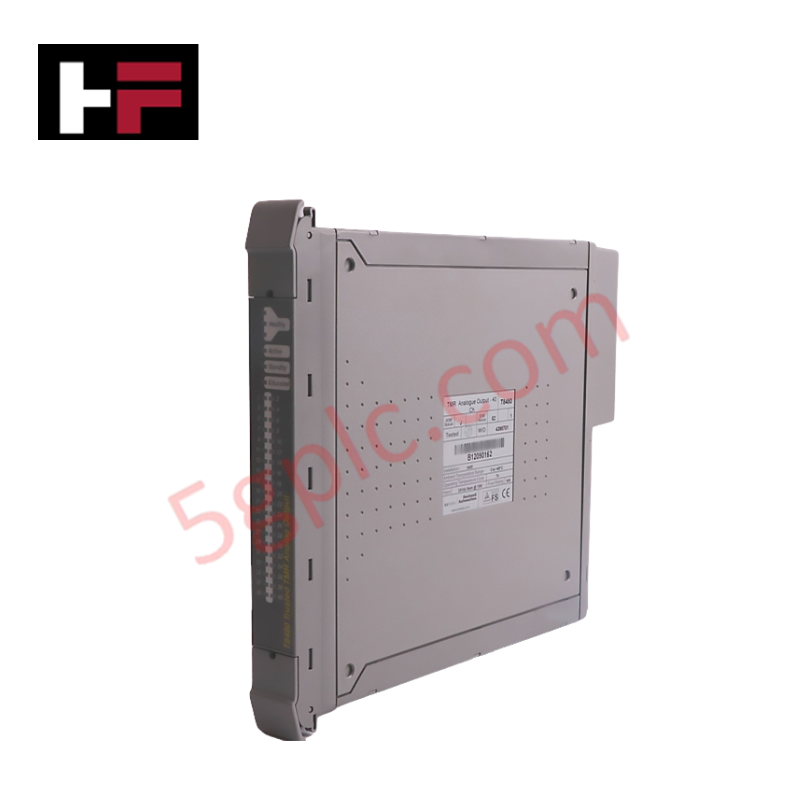
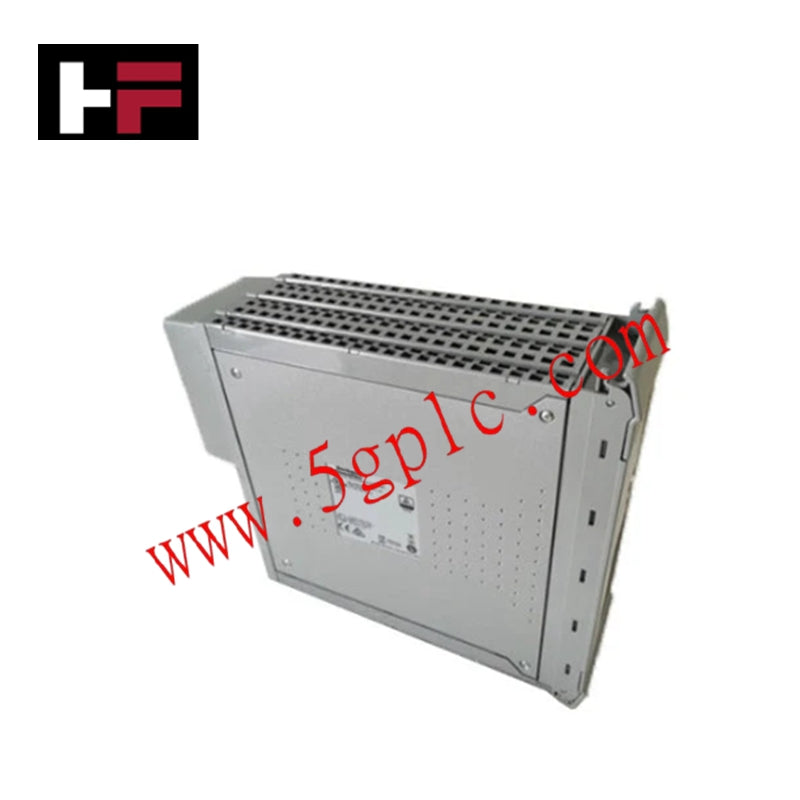
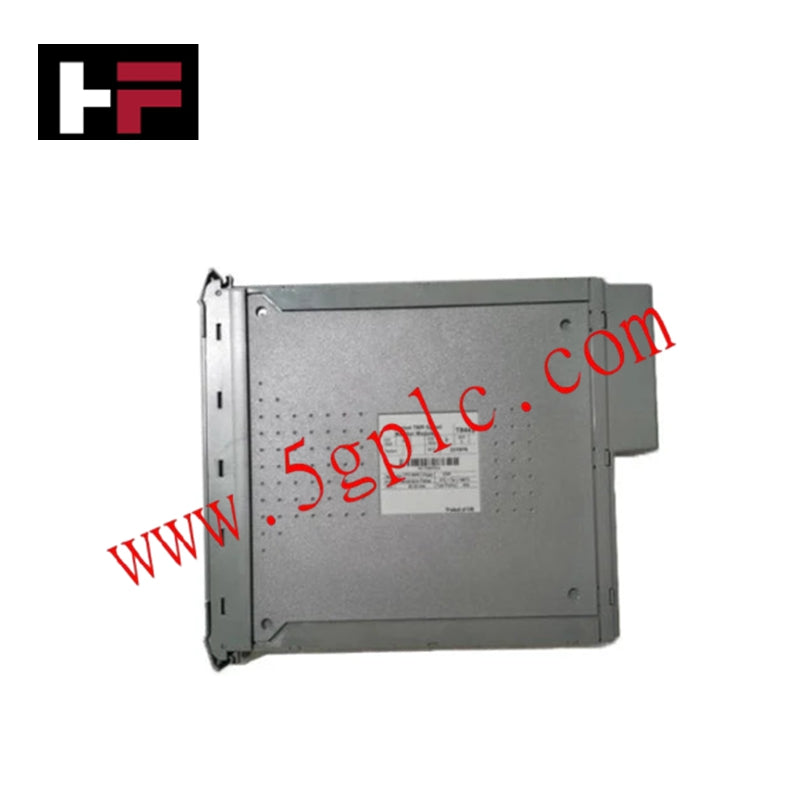
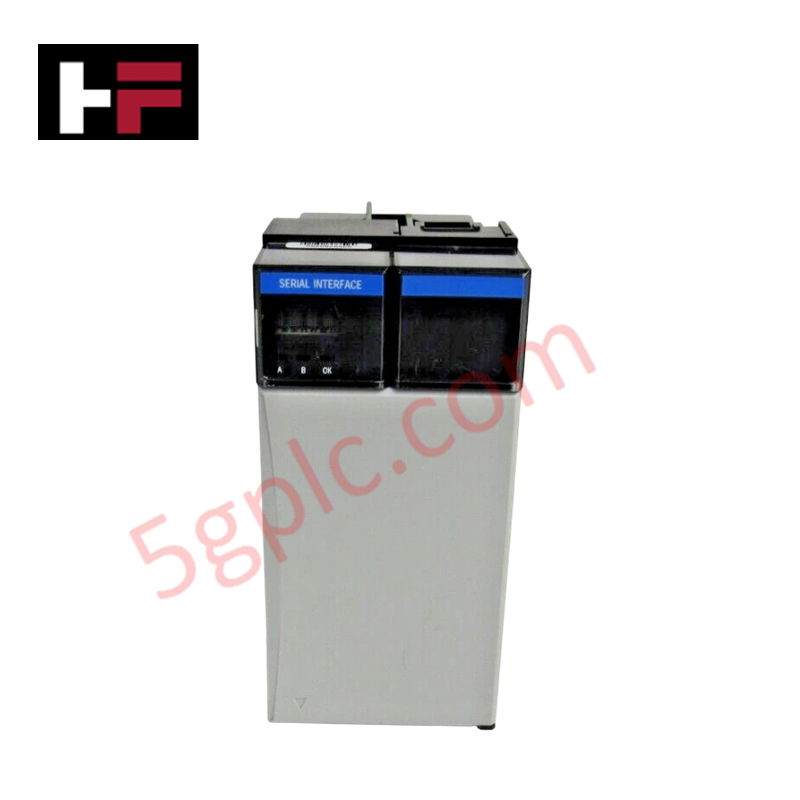
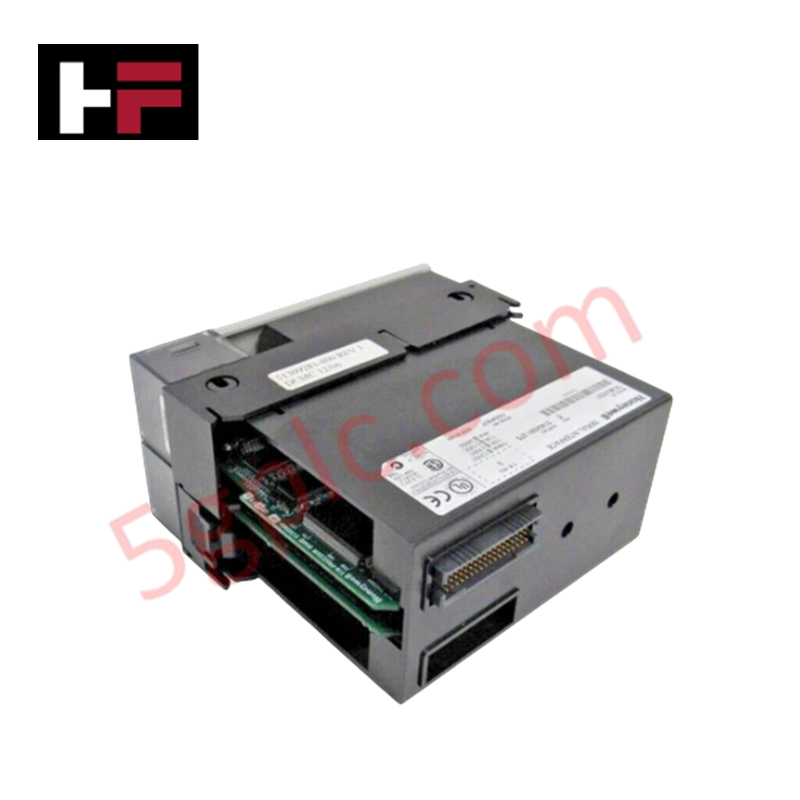
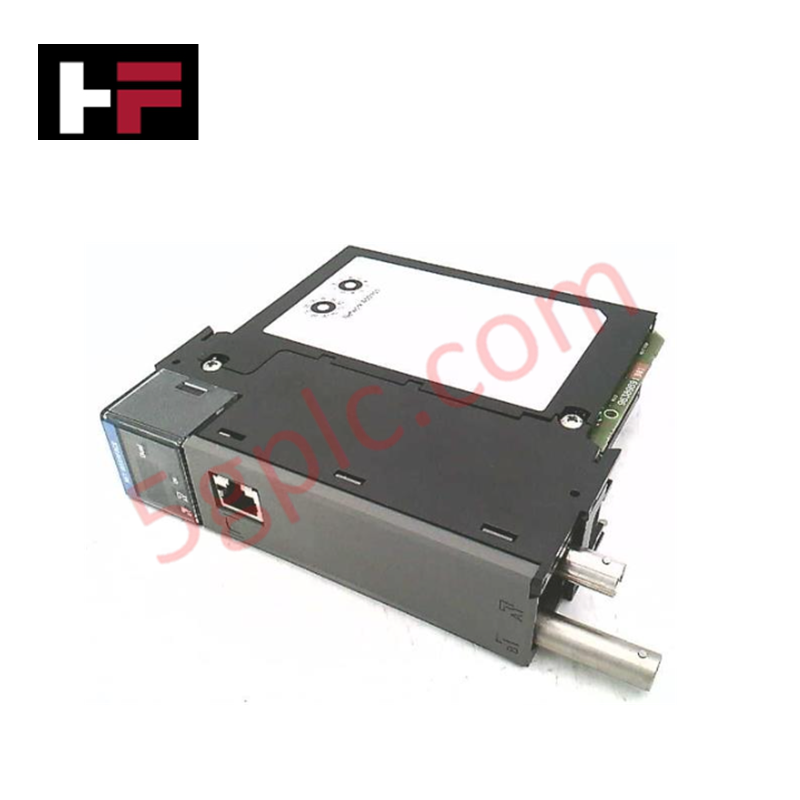
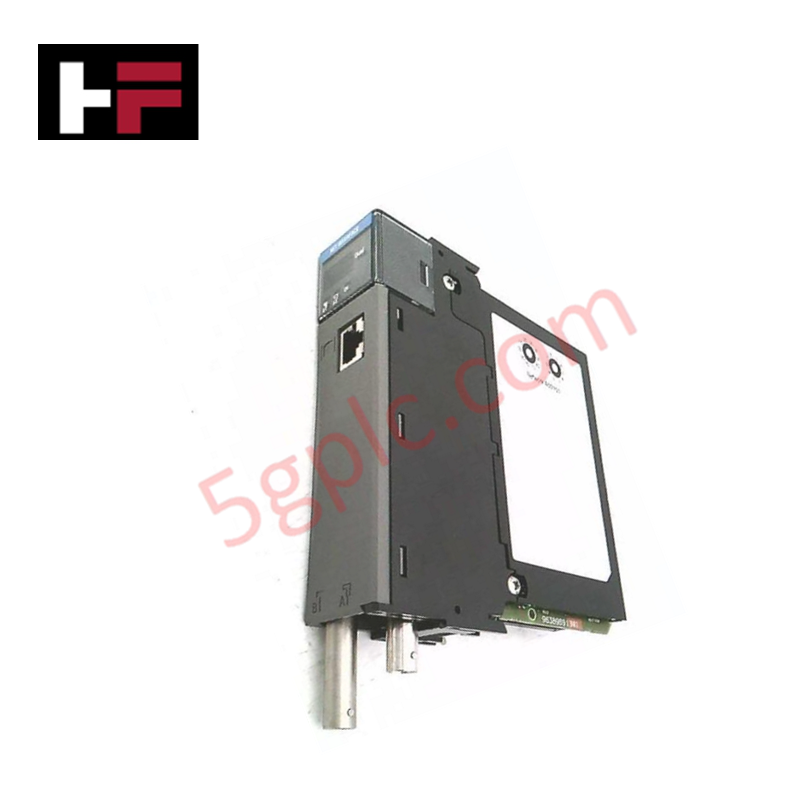
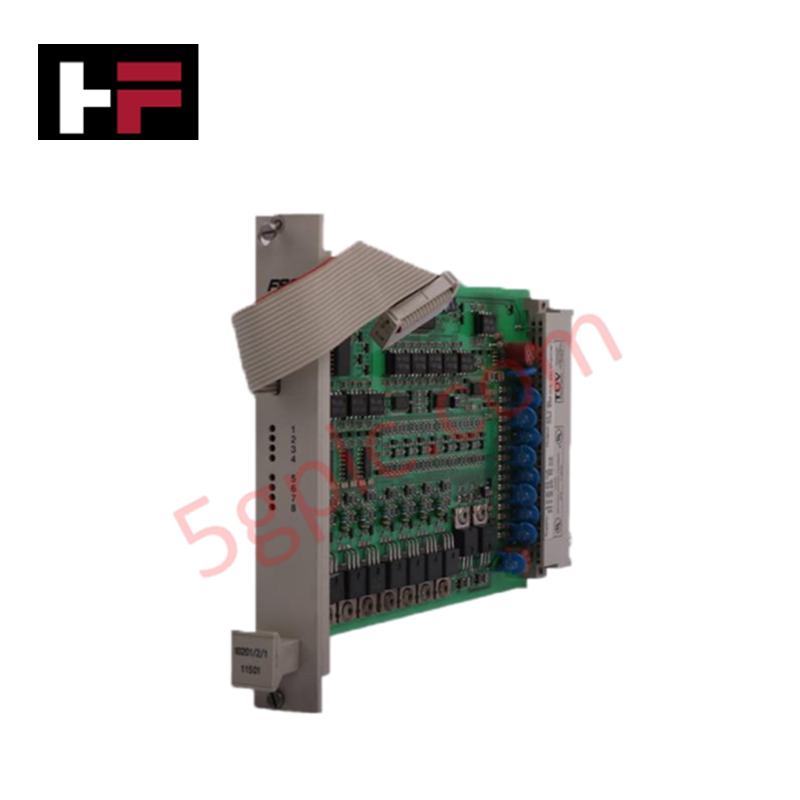
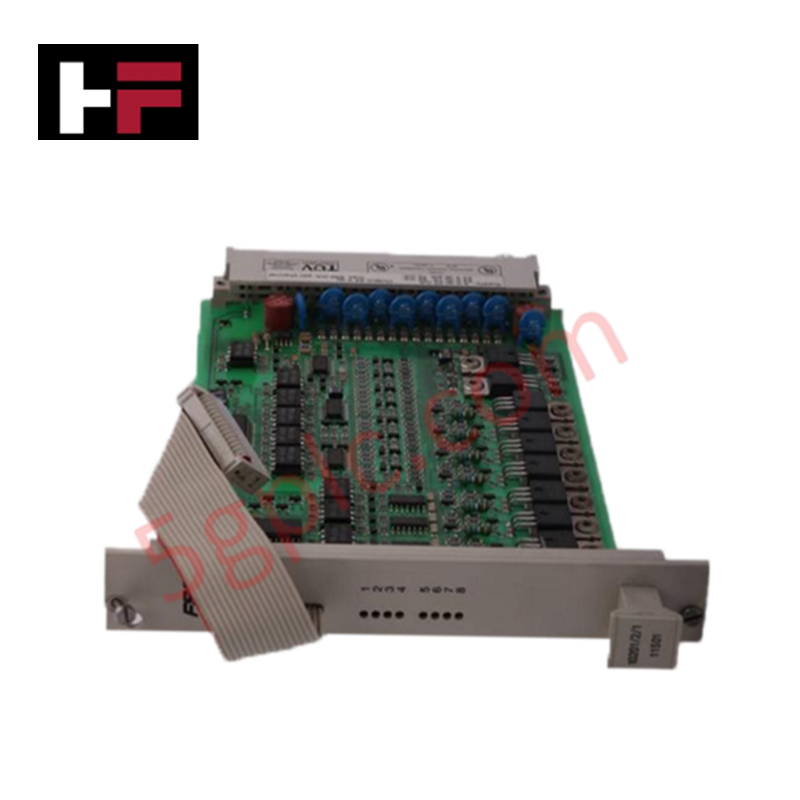
Configured for digital input signal interfacing in Honeywell control systems, the Honeywell FS-TSDI-16UNI (FS-TSDI-162UNI Field Termination Assembly Module) provides direct physical/electrical execution.
Suffix Breakdown & Model Matrix
The FS-TSDI-16UNI designation represents a 16-channel universal digital input field termination assembly variant. No complex internal sub-variant matrix applies to this standard catalog release, ensuring consistent form and function across established cabinet wiring layouts.
Hardware Specifications
| Parameter | Specification |
|---|---|
| Model | FS-TSDI-16UNI |
| Brand | Honeywell |
| Origin | USA |
| Weight | 0.3 kg |
| Dimensions | 3.8 cm x 14.0 cm x 21.1 cm |
| Operating Temp | -20 deg C to +60 deg C |
| Power Consumption | Passive Field Termination Unit |
| Input Channels | 16 (organized in 2 groups of 8) |
| Voltage Rating | Up to 150 VDC (IEC 61010-1 compliance) |
| Fuse Protection | 250 mA fuse in each group's common positive line |
| Termination Type | Screw terminals |
Channel-to-Channel Isolation and Loop Protocol
The module provides channel-to-channel isolation and galvanic protection provisions across its 16 input channels to prevent common-mode voltage transfer and ground loop propagation. It supports 4-20 mA HART loop protocol compatibility layers alongside universal digital input signal routing. Each group's common positive line is protected by an integrated 250 mA fuse to safeguard the central control backplane from overcurrent conditions originating on field wiring loops.
Frequently Asked Questions
Q: How does the FS-TSDI-16UNI interface with the central controller modules?
A: The module connects via an SICC-0001/Lx system cable directly to SDIL-1608 control modules, routing field signals through high-density internal paths.
Q: What fuse protection is integrated into the module architecture?
A: Each of the two 8-channel groups incorporates a dedicated 250 mA fuse located within the common positive line to isolate group-level overcurrent faults.
Field Installation Guidelines
- De-energize all field signal lines and verify a zero-voltage state across terminal blocks prior to handling or wiring.
- Mount the unit securely onto a standard DIN EN rail within the control cabinet, confirming proper mechanical locking and earth continuity.
- Plug the SICC-0001/Lx system interface cable firmly into the designated connector port until fully seated.
- Terminate field input wiring to the screw terminals, ensuring proper wire strip lengths and torque limits before restoring system power.
Additional Information
- 100% Genuine Parts: All products are original and authentic, ensuring reliable industrial performance.
- 30-Day Refund Guarantee: Return any in-stock item within 30 days in original, unopened packaging for a full refund (excluding shipping and fees).
- 12-Month Warranty: Covers defects in materials or workmanship; excludes misuse, normal wear, or unauthorized modifications.
- Worldwide Shipping: We ship via USPS, UPS, FedEx, and DHL. Delivery times vary by country and may be subject to customs or import fees.
- Support & Contact: Technical and warranty assistance is available anytime. Contact us here: Contact.
- Purchase Guidance: Check product specifications and compatibility carefully before ordering to ensure proper application.
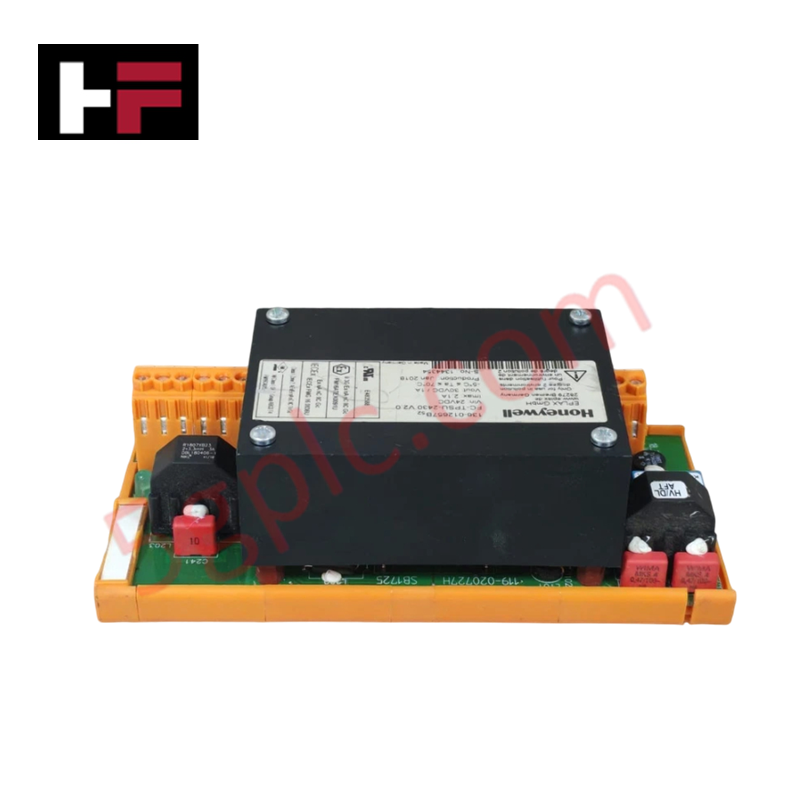
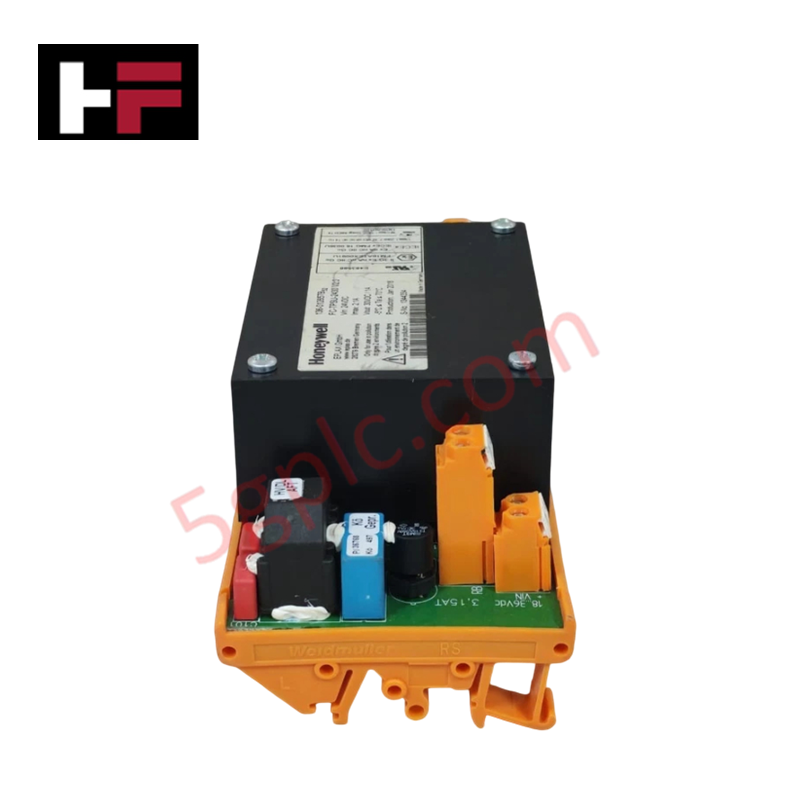


Tech & Buying Guide

Understanding VFD Mechanical Brake Logic and Control in Industrial Automation
Variable Frequency Drives (VFDs) play a crucial role in modern industrial automation by controlling motor speed, torque, and acceleration. However, high-inertia loads and vertical lifting systems require precise mechanical braking logic to ensure operational safety and prevent equipment damage.

Why Programmable Logic Controllers Drop into Stop Mode: An Expert Analysis
Industrial automation systems rely heavily on Programmable Logic Controllers (PLCs) to maintain uninterrupted production. When a PLC unexpectedly shifts from Run to Stop mode, whole manufacturing lines stall.
As control systems evolve across modern factory automation, understanding the root causes of these interruptions helps engineers minimize costly downtime. This technical guide breaks down why PLCs trip into Stop mode and provides practical strategies to mitigate system faults.

Understanding Root Causes of Unplanned PLC Stop Mode in Industrial Automation
Modern Programmable Logic Controllers manage execution through distinct operational states: Run, Stop, Start-Up, and Hold. During power-up, a controller initializes memory registers within Stop mode before briefly transitioning to Start-Up mode. During this phase, internal self-diagnostics evaluate system integrity across hardware and user programs. If the controller detects no critical faults, it enters Run mode to execute the control program continuously. However, any severe system anomaly forces the CPU back into Stop mode immediately to prevent erratic machine behavior across the plant floor.