
Product Details
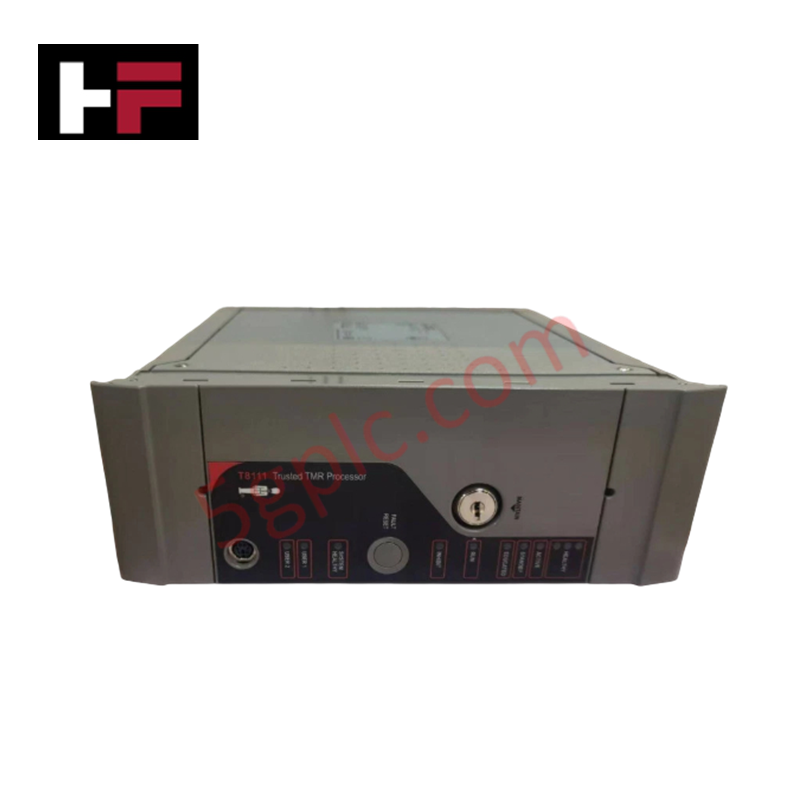
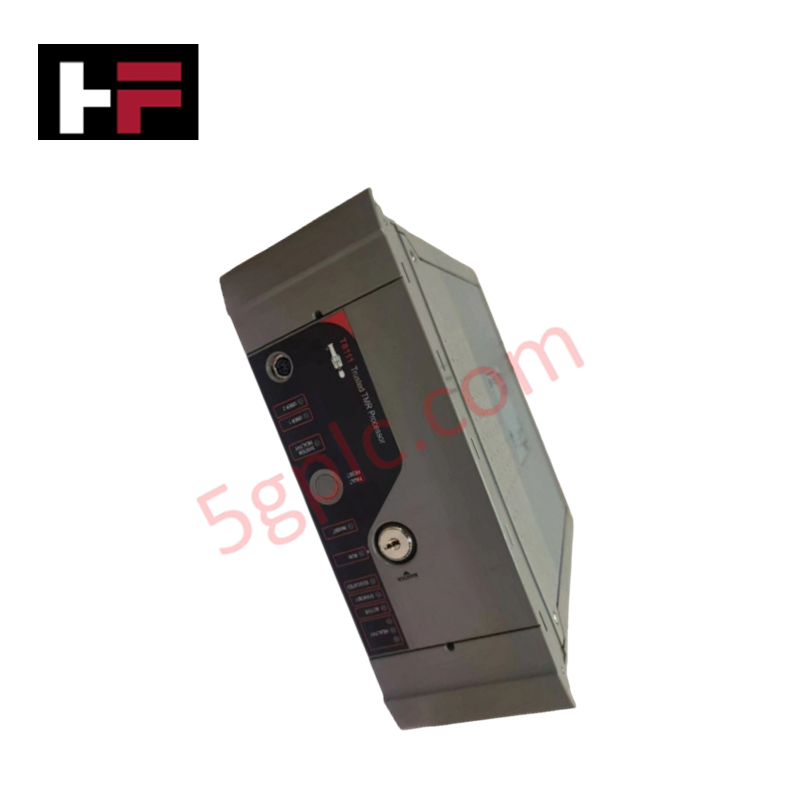
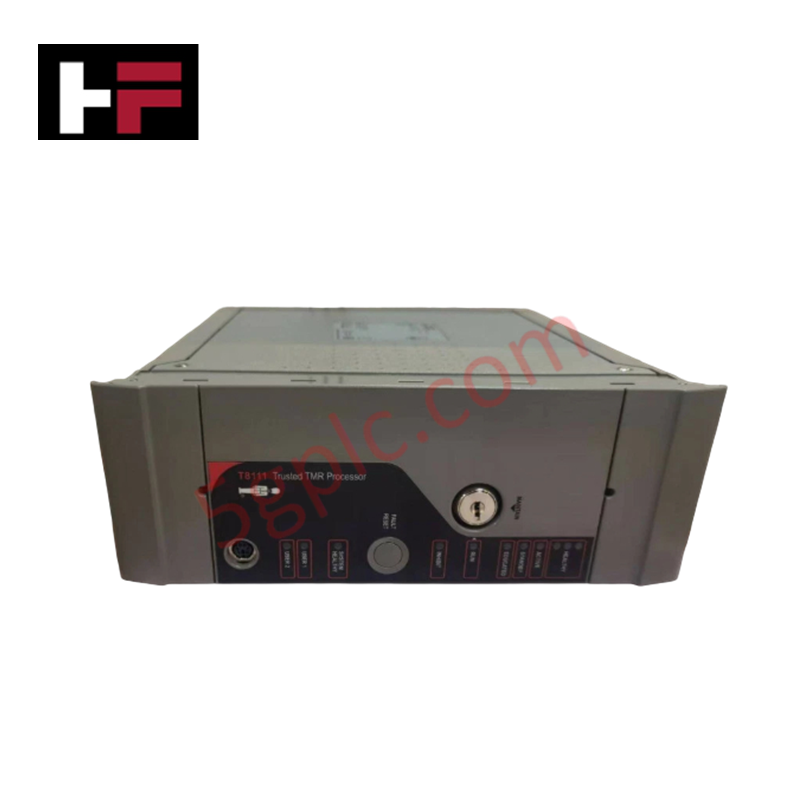
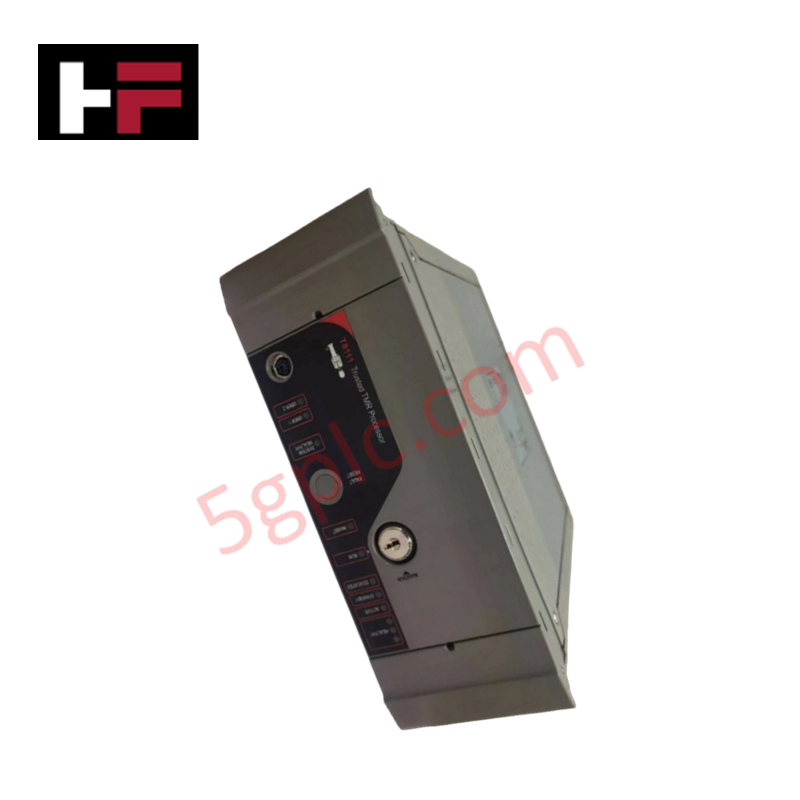
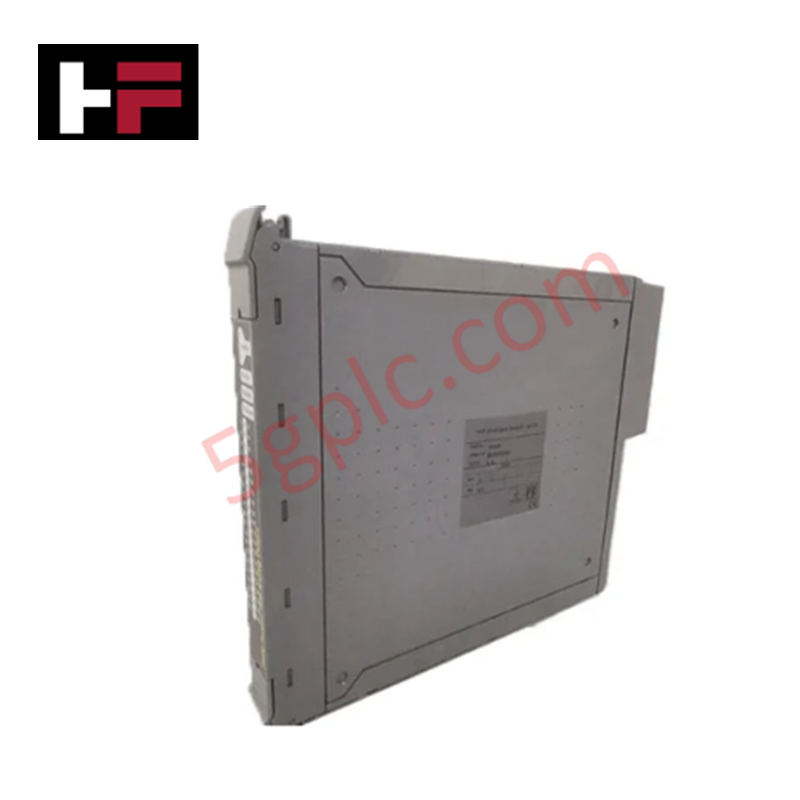
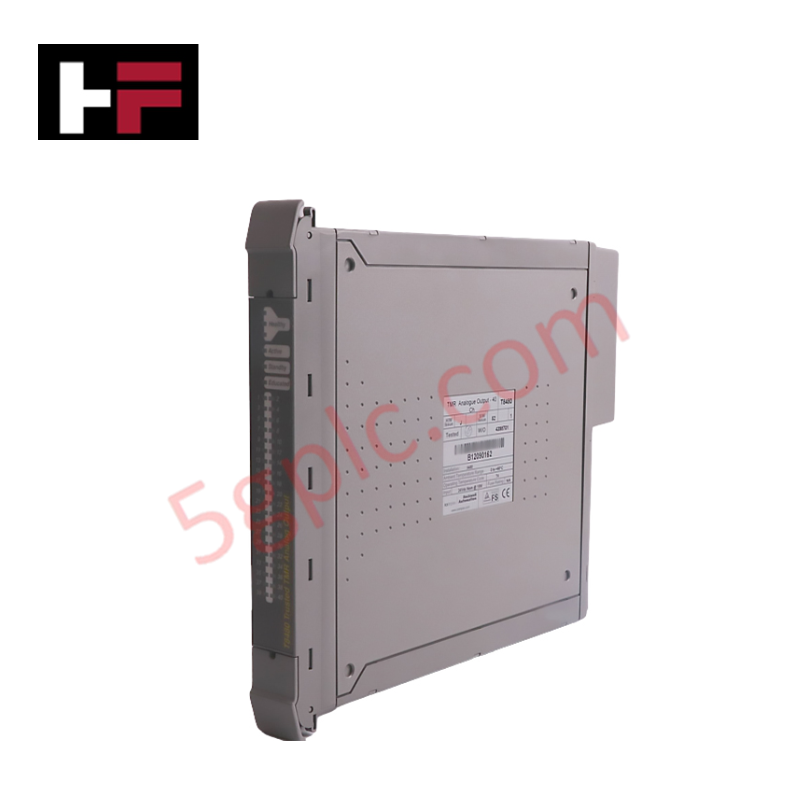
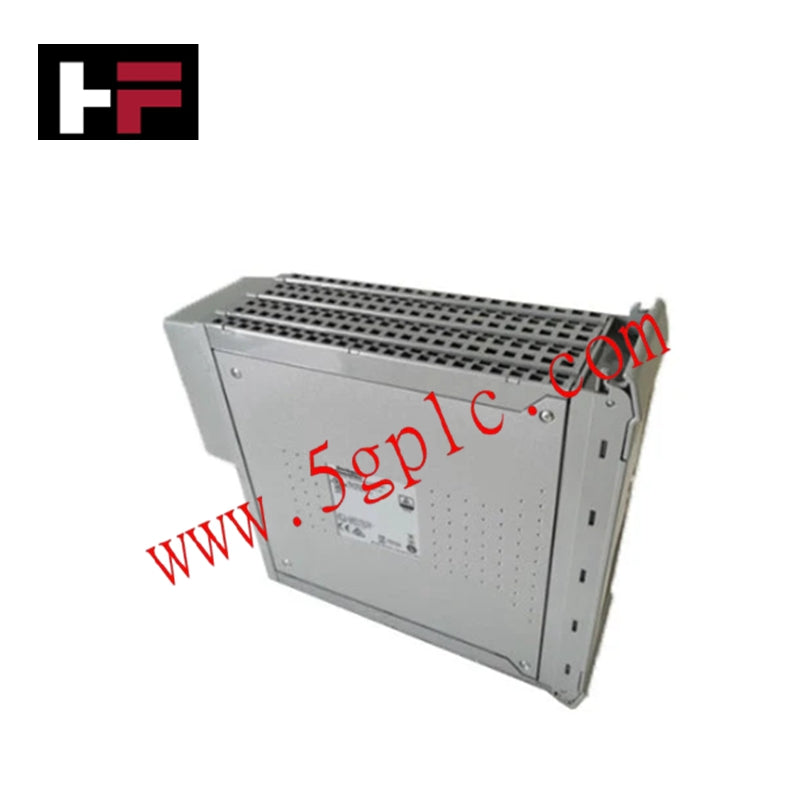
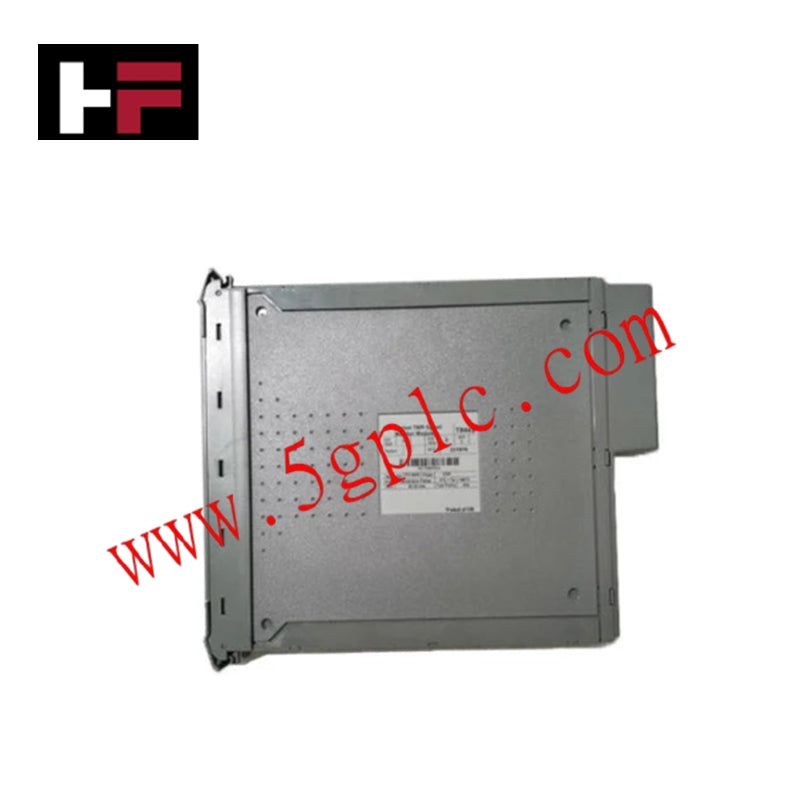
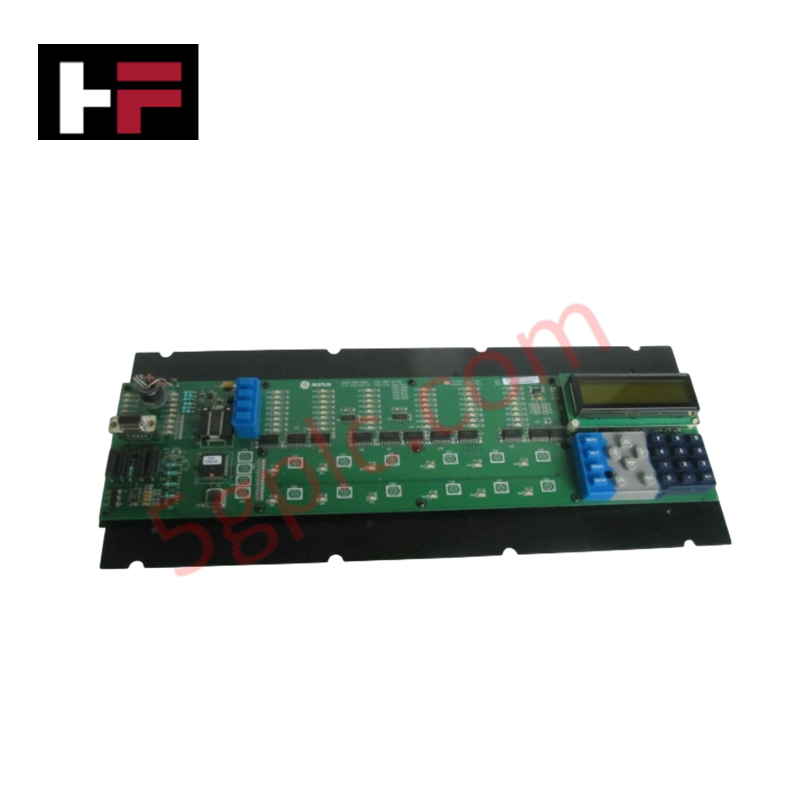
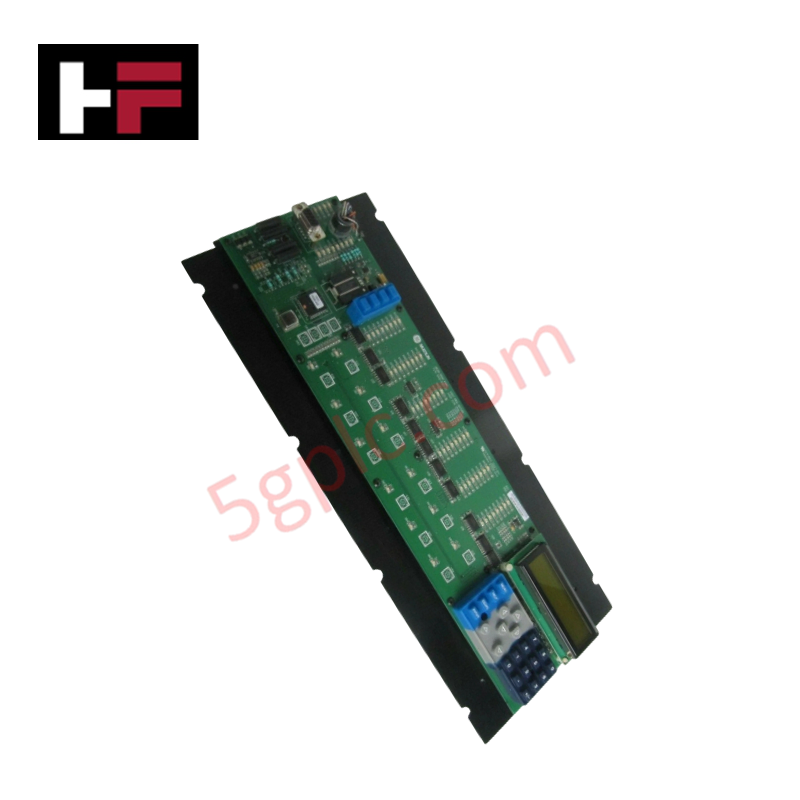
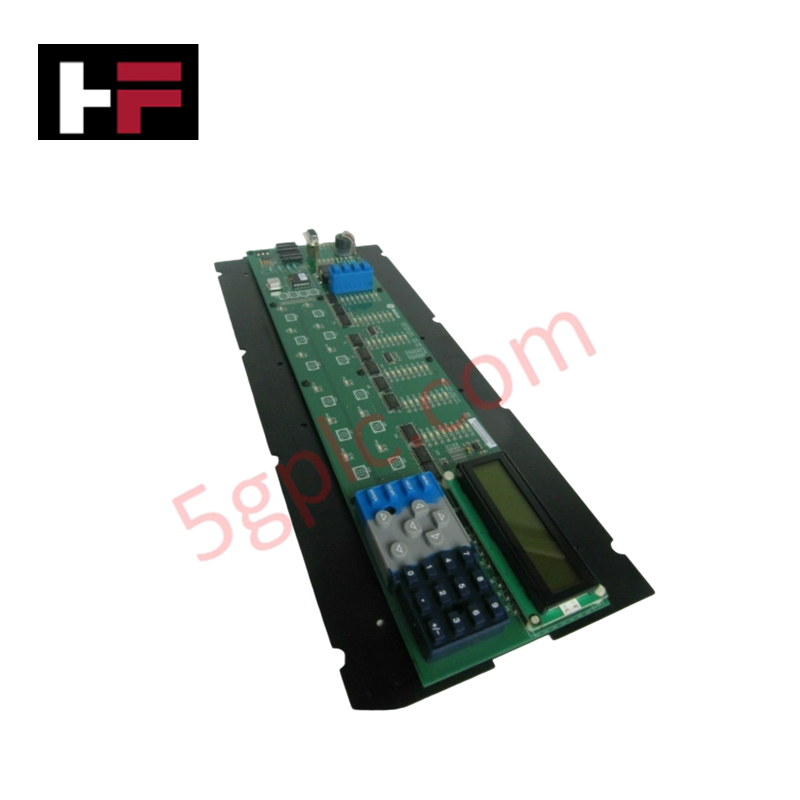
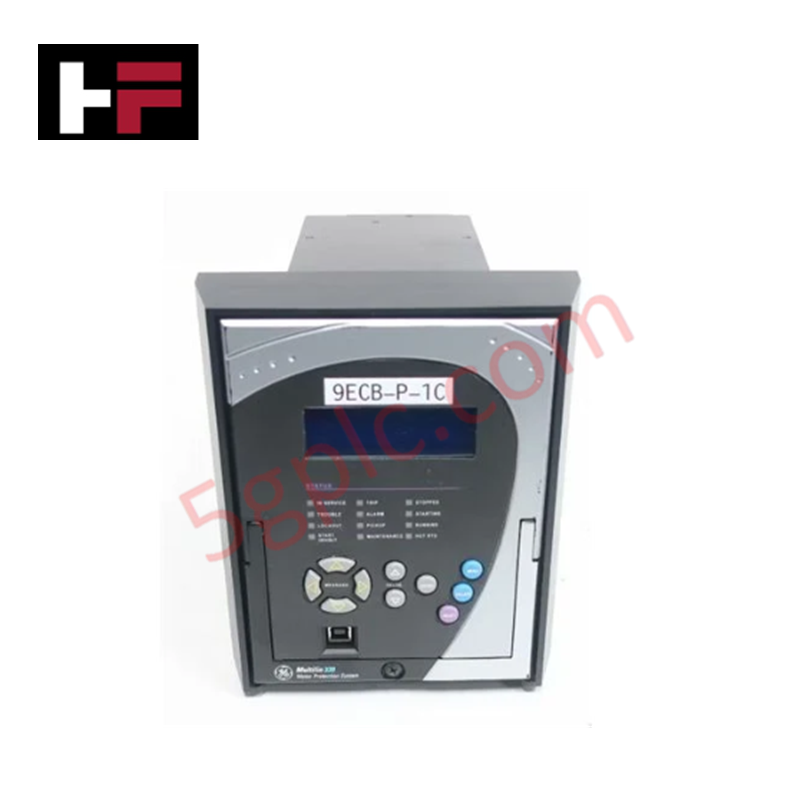
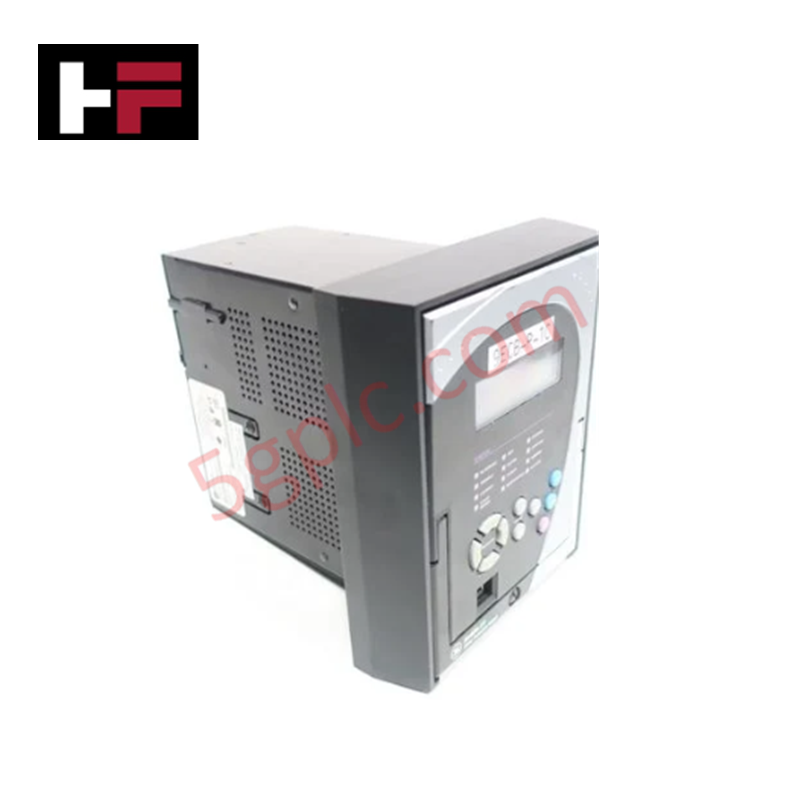
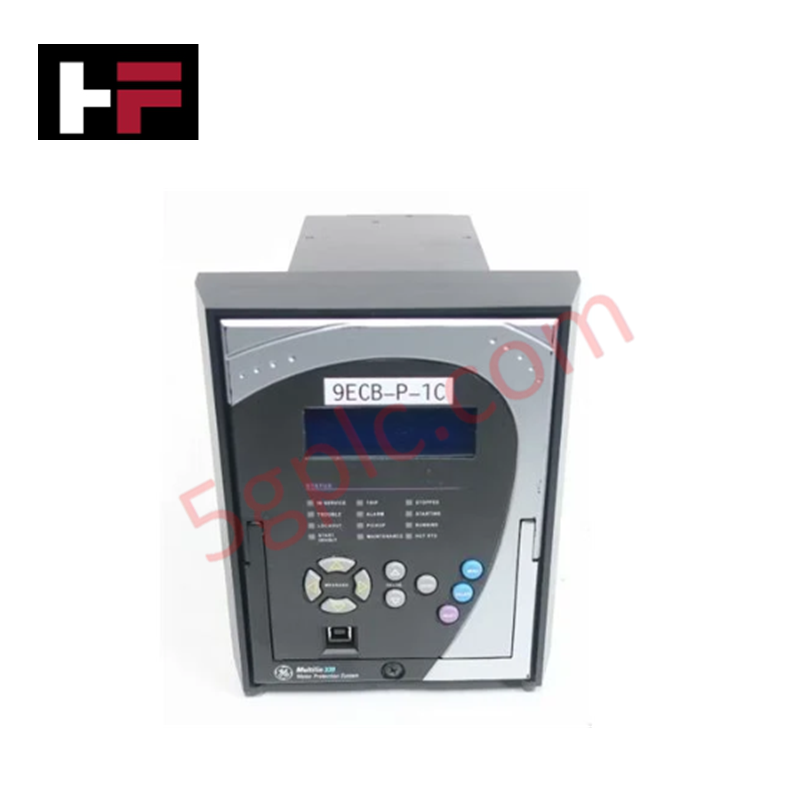
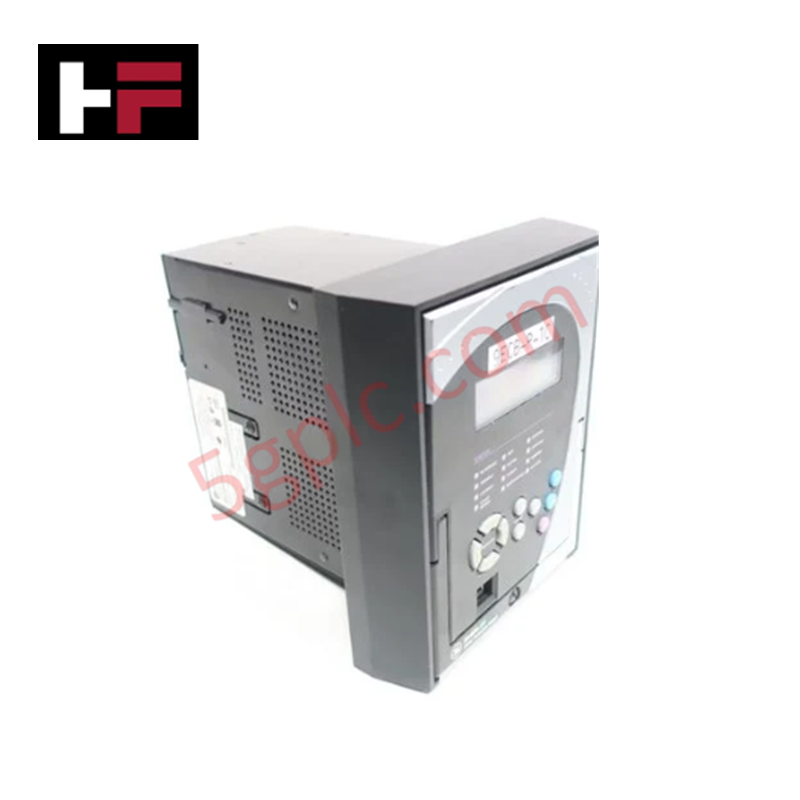
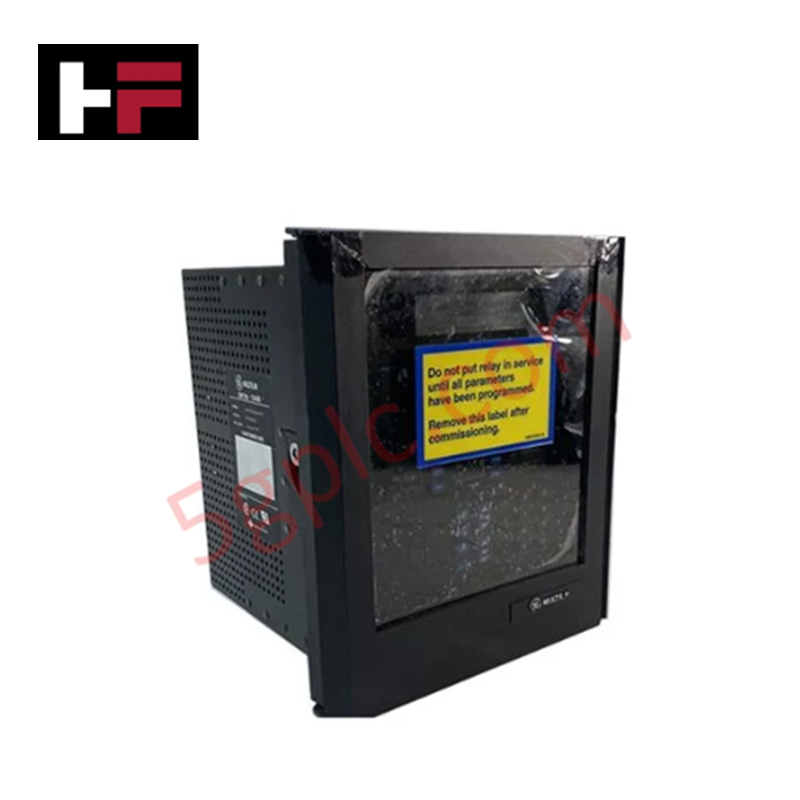
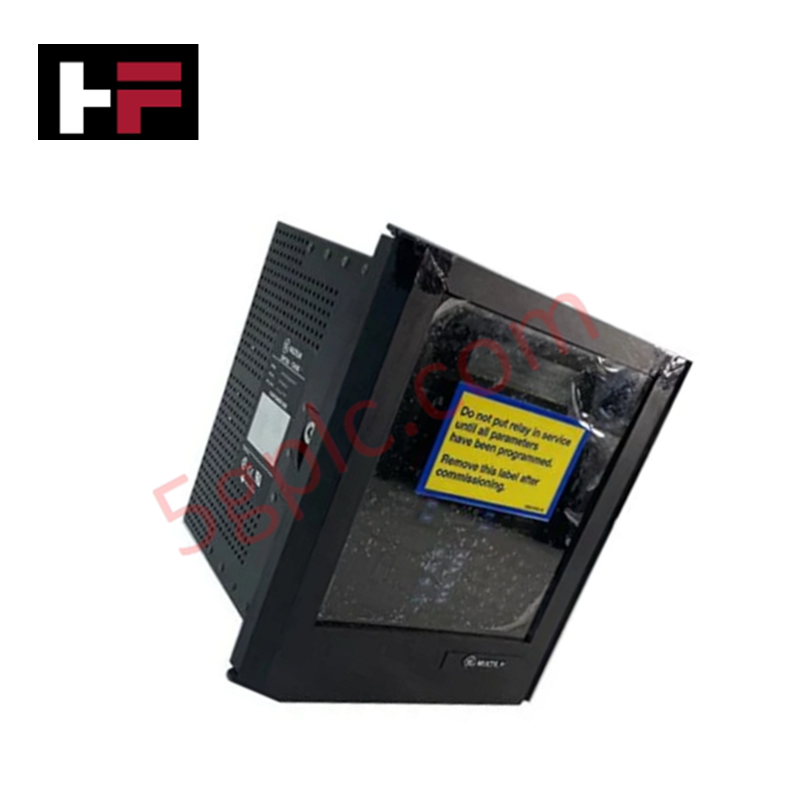
The GE 12A0-0001-E1, also cataloged as the 12A0-0001-E1 Front Panel Assembly PCB, operates as a dedicated hardware component for human-machine interface (HMI) processing, display control, and local status indication within GE Multilin Universal Relay (UR) Series protection platforms.
Hardware Specifications
| Parameter | Specification |
|---|---|
| Model | 12A0-0001-E1 |
| Brand | GE / GE Multilin |
| Origin | USA |
| Dimensions | Standard Multilin UR Series Front Bezel Mounting |
| Operating Temp | -40 to +60 deg C |
| Power Consumption | Logic Backplane Powered (Internal DC Supply Rail) |
| System Platform | GE Multilin UR Series (C60, L90, T60, B30, etc.) |
| Interface Ports | Front RS-232 / USB Maintenance Port, LCD Interface Header |
| Display Support | Liquid Crystal Display (LCD) and Status LED Driver Matrix |
Backplane Bus Communication Velocity and Firmware Flash Compatibility
The 12A0-0001-E1 front panel board manages local keypress decoding, display refresh cycles, and real-time LED alarm latching for the protective relay interface. By handling local user interaction and front-port diagnostic messaging independently, the board offloads HMI task management from the core protective CPU, preserving high-speed backplane bus communication velocity for critical trip calculations and fault recording. The assembly maintains strict firmware flash compatibility across UR Series processor revisions, facilitating seamless hardware replacement without disturbing recorded relay target logic or protective setpoints.
Frequently Asked Questions
Q: How does the 12A0-0001-E1 interface with the main relay CPU module?
A: The board connects directly to the internal relay chassis motherboard via multi-pin flex ribbon cables that route signal power, diagnostic serial communication, and display control buses.
Q: Is field calibration or software programming required when replacing the 12A0-0001-E1 board?
A: No hardware calibration is required. The board acts as a physical HMI interface; all relay settings, system configurations, and protective logic remain stored in the main CPU module memory.
Field Installation Guidelines
- De-energize control power to the Multilin UR chassis and isolate high-voltage CT/PT secondary circuits prior to opening the front enclosure.
- Ground yourself using an ESD wrist strap connected to the relay chassis ground point before handling internal PCB components.
- Remove the outer bezel assembly and carefully disconnect the flex ribbon cables from the 12A0-0001-E1 board headers.
- Unscrew the retention fasteners holding the PCB to the front bezel, replacing the board with the new 12A0-0001-E1 unit.
- Reattach all ground grounding straps and ribbon connectors, verifying full connector alignment before closing the front panel and re-applying auxiliary power.
Additional Information
- 100% Genuine Parts: All products are original and authentic, ensuring reliable industrial performance.
- 30-Day Refund Guarantee: Return any in-stock item within 30 days in original, unopened packaging for a full refund (excluding shipping and fees).
- 12-Month Warranty: Covers defects in materials or workmanship; excludes misuse, normal wear, or unauthorized modifications.
- Worldwide Shipping: We ship via USPS, UPS, FedEx, and DHL. Delivery times vary by country and may be subject to customs or import fees.
- Support & Contact: Technical and warranty assistance is available anytime. Contact us here: Contact.
- Purchase Guidance: Check product specifications and compatibility carefully before ordering to ensure proper application.


Tech & Buying Guide

Will PLCs Become Obsolete? The Future of Control Systems in Industry 4.0
Modern manufacturing is undergoing a rapid technological transformation driven by Industry 4.0 innovations. Technologies like Artificial Intelligence (AI), Machine Learning (ML), and the Industrial Internet of Things (IIoT) are dominating discussions across the factory automation sector. Consequently, many engineers wonder if these advanced digital tools will eventually replace traditional Programmable Logic Controllers (PLCs). However, evaluating the core physics of industrial operations reveals a very different reality for control systems.

Demystifying Open Platform Communication (OPC): The Backbone of Industrial Interoperability
Interoperability remains a cornerstone requirement for modern smart factories and process automation. Open Platform Communication (OPC) bridges the gap between disparate hardware platforms, control systems, and visualization software. By establishing a universal communication standard, OPC allows field controllers, SCADA platforms, and enterprise software from different vendors to exchange real-time data seamlessly.

Understanding Siemens PLC Memory Cards: MMC, SMC, and SD Solutions in Industrial Automation
Memory management plays a pivotal role in maintaining control system reliability across modern manufacturing plants. Industrial control systems rely on specialized memory cards to store project logic, firmware updates, and retentive system data. Siemens uses several memory architectures, including Micro Memory Cards (MMC) and SIMATIC Memory Cards (SMC). Engineers must understand these hardware variations to ensure zero data loss and minimize downtime during maintenance routines.